A school is not only a place where children learn, but also where communities and families come together as a community. Whether it’s a school play, a sporting event, or a band concert, communities band together to support students.
When hosting large events, schools need to be prepared for large numbers of visitors. This can sometimes overwhelm school staff members without the right assistance. It’s imperative that your school performs required background checks and keeps accurate records of everyone who visits.
Without proper safety precautions in place, unscreened visitors can pose a security and liability risk to a school campus. An innovative visitor management system can help handle large crowds without compromising on safety.
We’d like to share with you our best practices, step-by-step, for signing in lots of visitors for a school event, and how to:
- Create a dedicated check-in button for school events.
- Maintain school safety best practices for event check-ins.
- Prepare multiple check-in stations ahead of time.
- Print badges from multiple stations to one centralized location.

Step 1: Sign-in to Your CENTEGIX Visitor Management School Manager Account
To sign in, you’ll need to use your email address and password you created for:
Step 2: Create a Dedicated Check-in Button for Events
CENTEGIX Visitor Management System offers different buttons that categorize your school’s different types of check-ins. These categories help filter the information in reports from the School Manager. To add a button dedicated to guests for events, select the settings tab from the left-hand side of the menu.
Select the badge settings option and click “Add New Badge” at the bottom of the screen.
A new badge will appear at the bottom of the list. It will be named “Title” by default but will prompt you to edit the name. Click on the newly created badge and select the “Display” options from the menu.
The title field is where you can rename this new button to “Events” or to the name of the specific event. Make sure the Web Client Display buttons are set to “Check-In Only”, and the Preloaded Category to load is the “Pre-Approved Visitors” list for returning visitors (if you are using this list). You’ll want to make sure to click the save button at the bottom of the page before exiting.
The school has the option to set an Auto Log-out time as well. You can set a specific time or relative time if you don’t want to scan each visitor out.
Step 3: Enable the New Events Button for Your School
Now that you’ve created your Events button you will need to enable it for use in your school. Doing this is quick and easy. Click the “Client App” icon on your desktop or the school manager. You will need to log in as an administrator. If this is a kiosk, log out of your kiosk user and log in as an admin.
In the top left-hand corner of the home screen, click “Settings”.
Once you are in the Settings menu, click “Badge Settings” and select your Events button.
The Badge Settings menu has many options for customization. We want to make sure your visitors can check in quickly and efficiently while also performing sexual offender background checks for new visitors for safety. We recommend that you enable the license scanner and automatic sexual offender background check options. To do this, select “Optical Barcode Scanner” from the scanner dropdown menu under the Check-In Options section.
If you will be allowing administrators or visitors the ability to quickly look up their name, the manual look-up type can be set to “User Name” with autocomplete. “Require scanning ID” should be enabled if the administrator or visitor will not be autocompleting their name.
Scroll down the page to the Sex Offender Check Options and enable the “Sexual Offender Auto-Check” option and “Add Approved Visitors” to preload. If a visitor is approved for entry, they will automatically be preapproved for their next visit. This helps for an even faster check-in.
Under the Badge Display section, you will want to switch the Display Option from “Disable” to “All Modes”. Click “Save” when finished.
Step 4: Creating Multiple Stations for Your Team
You now have a dedicated button to quickly sign-in visitors for your school events without compromising security. For an even faster sign-in process, we recommend having multiple stations ready to go. The great thing about the CENTEGIX Visitor Management System is that a sign-in station does not have to be a desktop computer. You can check visitors in using a desktop, laptop, tablet, or even a cell phone. All you need is a device that connects to the internet.
An important note for Apple devices and performing sexual offender checks: Apple mobile devices do not come equipped with a USB port for a license scanner, nor does the software have the ability to scan the back of a license using the camera on an iPhone or iPad. Android and Windows devices are best equipped for scanning licenses.
To create new stations with the same settings, you will need to log in to your CENTEGIX account on the new devices your school will want to use for Events. Once logged in, you will clone your station. For more information on cloning a station, click here.
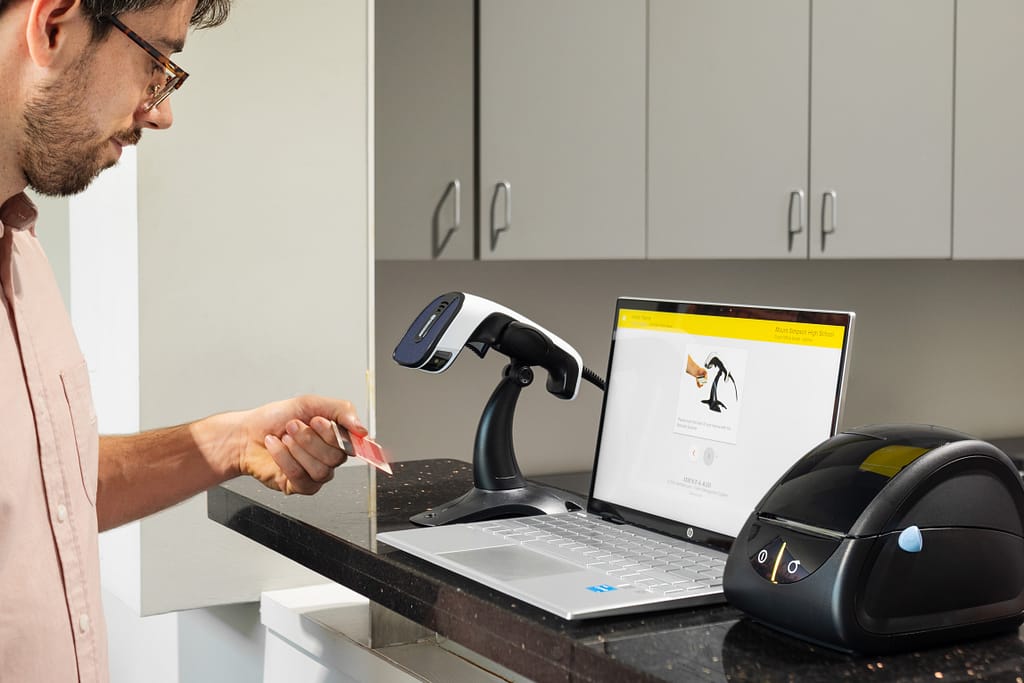
Step 5: Connect Necessary Hardware
To use multiple license scanners, you must connect them to your new stations. We offer both wired and wireless license scanners for purchase.
We recommend running a test to ensure the hardware is properly connected before the school event in question.
For assistance with your station’s hardware, contact our tech support team, and they will help you get set up correctly. Visit vm.success.centegix.com, call 800-950-9202, or email support@centegix.com.
Step 6: Sign Visitors In
If you have followed these steps, you should now have a dedicated check-in button for school events, multiple stations ready to sign visitors in, and all the hardware needed to go along with it.
You can check in large crowds with the CENTEGIX Visitor Management system, perform sexual offender background checks for new visitors, and keep accurate reports on your events.
We have a few more optional steps and recommendations to help create an even better process for your school’s well-attended events.
Step 7: Organize Two Lines for Visitor Traffic (optional)
To make it easier for visitors who have previously checked in on the CENTEGIX Visitor Management System, we recommend forming two separate lines for visitors: one line dedicated to checking in visitors who have never been to your school, and the other for visitors who have, and are already in your system.
If you plan to use Apple products, we suggest they be reserved for the returning visitor line, since Apple products are not as well configured for scanning driver licenses as Microsoft/Android devices.
For returning visitors, begin the check-in process by clicking on the “Events” button. However, instead of scanning their license, simply type their names, and the system will prepopulate for you to select the proper name. Finish the check-in, and that’s that.
Step 8: Print Visitor Badges to One Central Location (optional)
You can print badges for your visitors using the new stations you’ve set up for events. To do this, connect the new stations to a printer at your CENTEGIX Visitor Management Kiosk or at a centralized location.
When you begin cloning your stations, you will be asked if you want to print badges or use other hardware devices. You’ll want to click “Yes” and install the Client Agent. If you skipped this part during setup you can always activate it from your station Settings. Go to “Settings, Client Agent – Setup”.
Select “Existing.” Then select your school name and the available Client Agent that displays in the drop-down menu. Click “Configure,” and “Apply Changes.”
You should now be able to select the printer and test-print from the area of your new device’s station.
For assistance with setting up your client agent or printing badges, contact our tech support team at 800-950-9202 and leave a voicemail if we are unable to answer your call right away or email support@centegix.com.
CENTEGIX Safety Platform Login & Support
To access essential resources, such as tutorials and user guides, visit our CENTEGIX Support Portal.
Also, please see our Customer Login page to access additional information and helpful tools as training resources for all staff.